Ingredients
Equipment
Method
Prepare the Cake Pop Base
- Bake the cake in a 9x13-inch pan according to package or recipe directions, then cool completely.
- Crumble the cooled cake into fine crumbs in a large mixing bowl.
- Mix in the vanilla frosting until the crumbs hold together when pressed. Add only a little extra frosting if needed.
- Roll the mixture into 20 even balls, shaping a few gently into rounded ovals if desired for pencil or apple designs.
- Place the cake balls on a parchment-lined tray and refrigerate for 1 hour or freeze for 15 to 20 minutes until firm.
Insert Sticks and Coat
- Melt a small amount of candy melts. Dip the tip of each lollipop stick into the melted coating, then insert it halfway into each cake ball.
- Chill the pops again for 10 to 15 minutes to help secure the sticks.
- Melt the white, yellow, red, and black candy melts in separate microwave-safe bowls according to package directions, stirring until smooth.
- Dip each chilled cake pop into the coating of your choice, turning gently to cover fully. Tap off the excess and place upright in a stand or foam block to set.
Decorate the School-Themed Pops
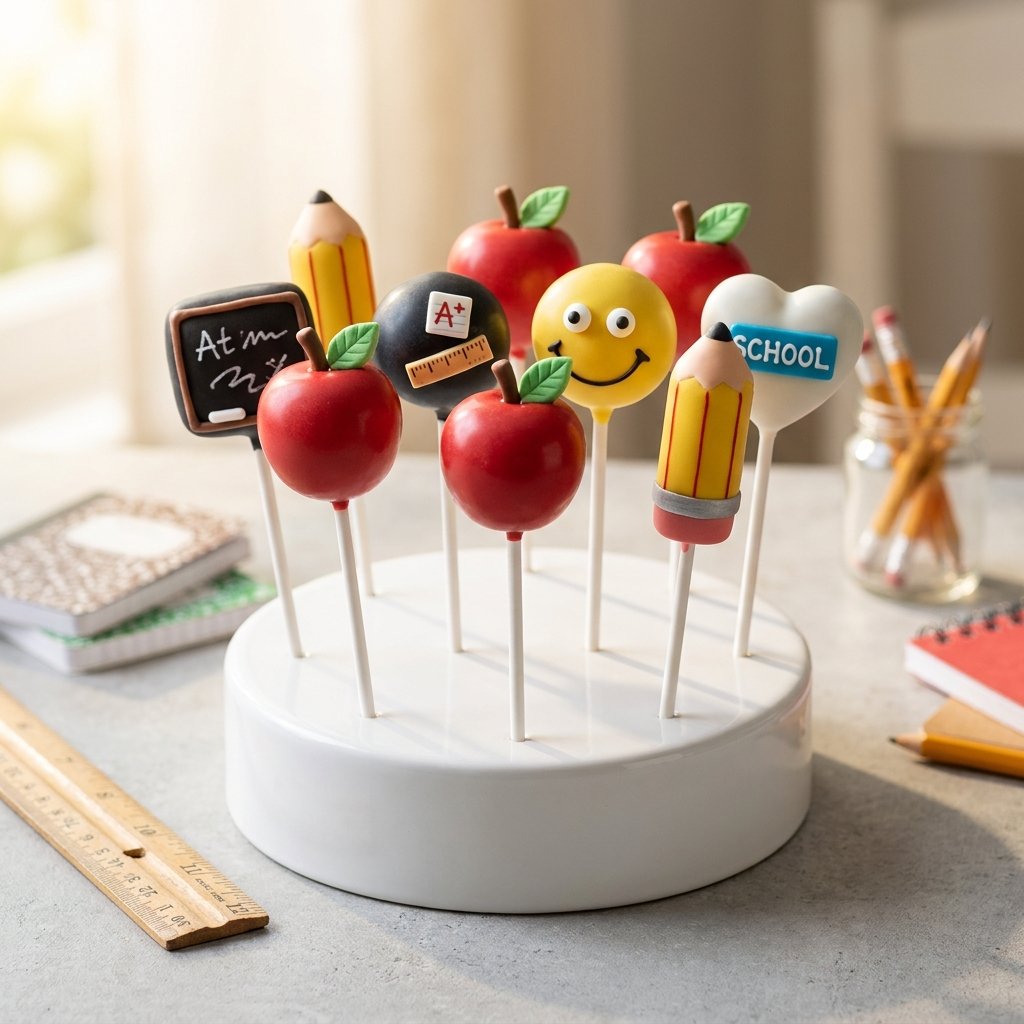
- For pencil pops, use yellow coating for the body, then add a pink eraser end, a white sharpened section, and a dark tip with additional melted candy.
- For apple pops, coat in red candy melts and add a small green leaf and brown stem while the coating is still soft enough to attach decorations.
- For chalkboard or school icon pops, use black coating or round pops and pipe white ABC details, yellow letters, blue check marks, or similar accents after the coating sets.
- For smiley face pops, add candy eyes to yellow-coated pops while still wet, then pipe a simple smile once set.
- Let all decorated pops set completely before serving or storing.
Notes
Use the minimum amount of frosting needed so the pops hold their shape. Let very cold cake balls warm slightly before dipping to reduce cracking. Store finished pops chilled and bring to room temperature briefly before serving for the best texture.