
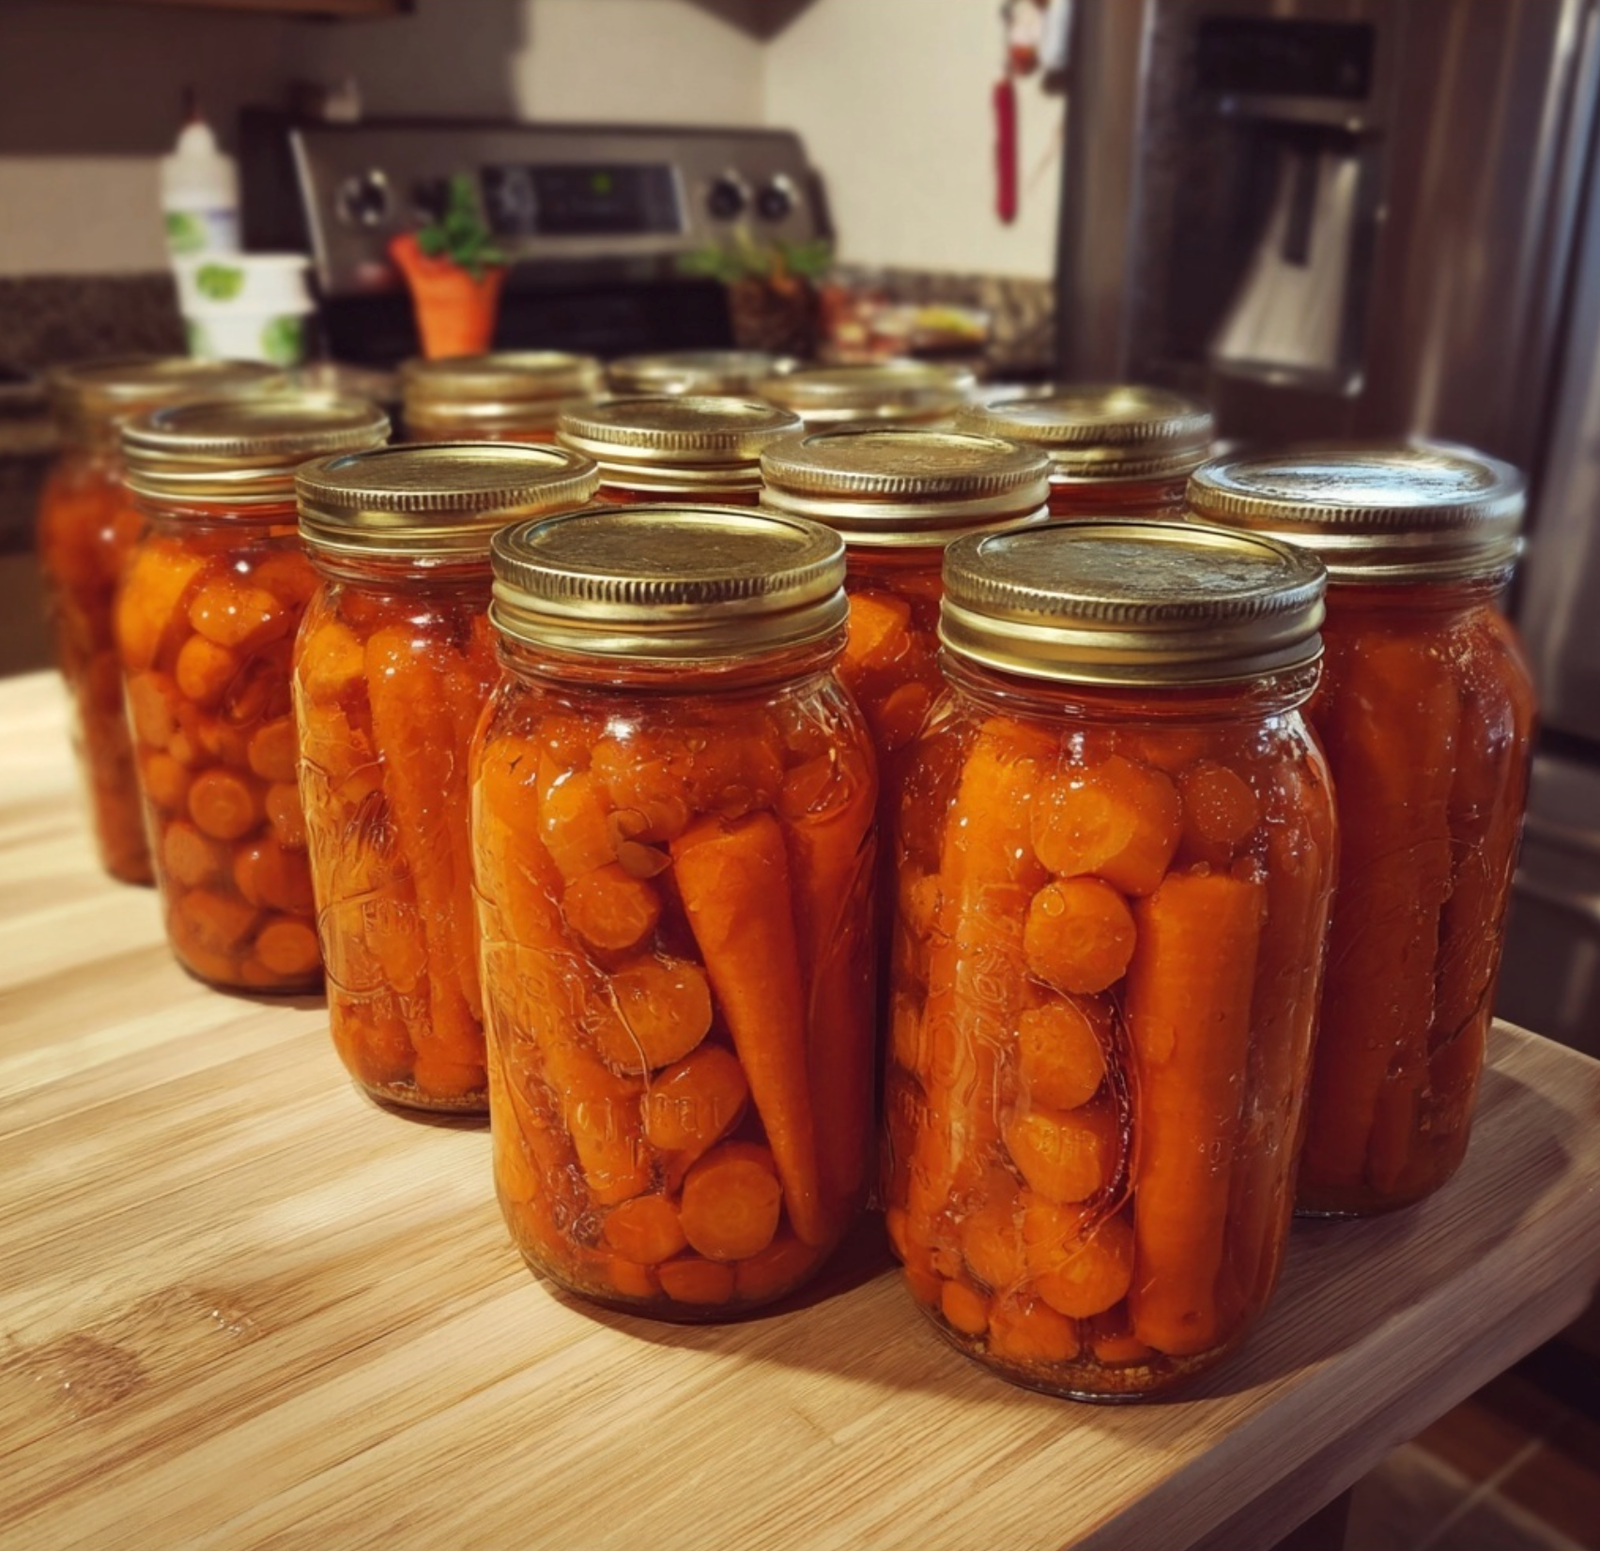
Hey there! Today I want to share with you a delightful method that I recently discovered for canning glazed carrots. Honestly, there’s something so satisfying about preserving your own vegetables. I remember the first time my grandma and I canned carrots together; the kitchen was filled with the sweet aroma of the glaze, and I felt like I was learning a true family tradition. The taste of homemade glazed carrots is just something you can’t find on the store shelves, and trust me, once you try this method, you’ll want to make them every season!
The beauty of canning is that not only do you get to enjoy the fruits (or vegetables, in this case) of your labor long after the harvest, but it also feels rewarding to stock your pantry with these tasty treats. Plus, they make a perfect side for any dish! So, let’s dive into this easy pressure canning guide for glazed carrots!
Flexible Valuable Section
Nutritional Benefits
First up, let’s chat about why these glazed carrots are not just yummy but also nutritious! Carrots are packed with vitamins, especially Vitamin A, which is great for your eyesight. They also contain antioxidants and are incredibly low in calories! When you add the glaze of brown sugar and orange juice, you’re making them even more delicious while still providing a good dose of nutrients. Eating these straight from the jar is like getting a bite of summer anytime you want!
Quick Info
- Preparation Time: 30-40 minutes
- Processing Time: Approximately 1 hour
- Total Time: Approximately 1 hour, 40 minutes
- Servings: Makes about 5-6 pints or 3-4 quarts
The Recipe
Ingredients
- 6–9 lb fresh carrots, peeled and cut into 1- to 1½-inch coins
- 2 cups brown sugar, packed
- 2 cups water
- 1 cup unsweetened orange juice (no pulp)
- Clean canning jars (pints or quarts)
- Canning lids
- Canning rings
Instructions
- Prepare Your Jars and Canner: Inspect your jars for any nicks or cracks; set aside any that are unsuitable. Wash the jars, lids, and rings in hot, soapy water and rinse thoroughly. Add 2-3 inches of water to your pressure canner as per the manufacturer’s instructions. Place the jars inside the canner and bring the water to a simmer to keep the jars hot until you’re ready to fill them.
- Prepare the Carrots and Glaze: While the jars are heating, peel the carrots and slice them into uniform 1- to 1½-inch thick rounds. In a large pot, combine the brown sugar, water, and unsweetened orange juice. Bring this mixture to a boil over medium-high heat, stirring until the brown sugar has fully dissolved. Once boiling, reduce the heat to a low simmer to keep the glaze warm.
- Choose Your Packing Method: You can use either the Raw Pack or Hot Pack method. For Raw Pack, just pack the raw carrot slices into the hot jars. For Hot Pack, boil the carrots for 5 minutes, drain, then pack them into jars.
- Fill the Jars: Carefully remove one hot jar from your canner. For the Raw Pack method, tightly pack the raw carrot coins into the hot jar. For the Hot Pack method, use a slotted spoon to transfer the simmered carrots into the jar. Ladle the hot brown sugar glaze over the carrots, leaving a 1-inch headspace. Remove any air bubbles and wipe the jar’s rim to ensure a good seal. Center a lid on the jar and screw on the ring until it is “fingertip tight.”
- Process in a Pressure Canner: Place the filled jar back in the canner and repeat until all jars are filled. Lock the canner lid in place and leave the weight off the vent pipe. Turn the heat to medium-high and allow a steady steam to escape for 10 minutes. After venting, apply the weight and bring the canner to 10 pounds of pressure. Once pressure is reached, process the jars for: Pints – 25 minutes; Quarts – 30 minutes.
- Cool and Check the Seals: When processing time is up, turn off the heat and allow the canner to depressurize naturally. Once the pressure is zero, remove the weight. Open the lid away from you, let jars rest in the canner for 5 minutes, then use a jar lifter to place jars on a towel-lined countertop. Allow to cool for 12–24 hours and check if the lids are sealed properly by pressing down in the center of the lid.
Practical & Valuable Tips
- Ensure your jars and lids are sterilized to prevent any spoilage.
- If you prefer a sweeter glaze, feel free to adjust the sugar level based on your taste!
- Store your sealed jars in a cool, dark place to maintain their quality and flavor.
- If you have leftover unsealed jars, refrigerate them and consume within a few days.
Equipment Needed
- Pressure canner
- Jar lifter
- Large pot for the glaze
- Slotted spoon
- Bubble remover tool or thin spatula
Frequently Asked Questions
- Can I can carrots without using a pressure canner? No, carrots are low-acid vegetables and require a pressure canner for safe preservation.
- How long does canned glazed carrots last? Properly sealed jars can last 1-2 years when stored correctly.
- What if my jars don’t seal? If the lid flexes up and down, the jar hasn’t sealed. Refrigerate it and use the contents within a few days.
- Can I use other types of juice? Yes! Feel free to experiment with apple juice or pineapple juice for different flavor profiles.
- Do I need special equipment for canning? Yes, a pressure canner is essential for safely canning low-acid foods like carrots.
So, there you have it! This guide makes pressure canning glazed carrots accessible and enjoyable. I really hope you give this a try; it’s a rewarding process that yields a delicious result. Let me know how your canning adventure goes or if you have any questions. Happy canning, and don’t forget to share your thoughts or follow me for more recipes!
